Easy Rhythm
Unlock Full Access to Lyrics & Chords with Torrins Membership
Unlock with premiumUnlock Full Access to Lyrics & Chords with Torrins Membership
Unlock with premiumExplore More in English Songs
Introduction
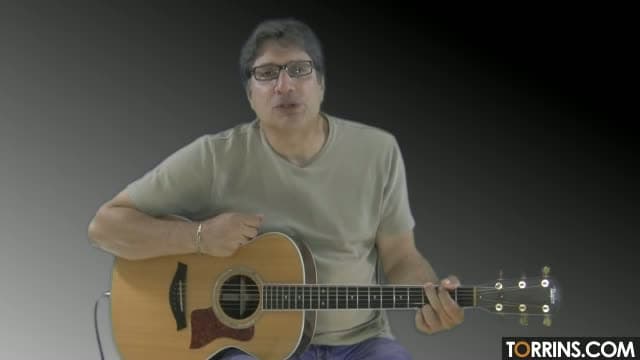
It’s time to grab your guitar and start strumming along with this detailed Let It Be guitar lesson on Torrins.com! This beginner-to-intermediate lesson is taught by our experienced tutor, Steve Luciano, who breaks down various components of the song—chords, rhythm, strumming pattern, and arrangement—into easy, digestible segments, helping you progress smoothly from one section to the next.
Interesting Fact: This classic Beatles song has a heartfelt story behind it. Paul McCartney wrote Let It Be after dreaming of his late mother, Mary, during a stressful time for The Beatles in 1968. In the dream, she comforted him, saying, “It will be all right, just let it be.” That message stayed with him and became the heart of the song. While many assume "Mother Mary" refers to the Virgin Mary, McCartney says it's open to interpretation.
The Let It Be guitar lesson is played in the key of C and consists of just four chords, two of which are C and F. Tune into the full lesson to learn the rest!
Chords Used in Let It Be Guitar Lesson
This popular Beatles song is an easy song to play and a great choice for beginners.
Many guitar learners struggle with the F chord, but don’t worry—Steve shares some solid tips on how to transition smoothly and play it comfortably. He also breaks down proper finger positioning to help you master F major with ease.
Strumming Pattern
You can keep it simple by playing this song entirely with downstrokes. However, if you want to add a little more rhythm, you can go with this pattern: DDDUDDDU.
A key thing to remember here is to keep your strumming hand moving at all times, even if you're not hitting the strings with every motion. This technique, often seen in older rock songs, helps create the right rhythmic feel.
Song Structure
The song follows a classic verse-chorus structure, but with subtle shifts that make it more dynamic.
- Intro: You’ll start with two chords per measure, but pay attention to the rhythm as it sets the tone for the whole track.
- Verse: The same two-chords-per-measure pattern continues here, but consistency in your strumming is key. If your rhythm slips even a little, it throws off the groove.
- Chorus & Bridge: These sections reuse the verse’s chord progression, but the transitions feel tighter and more energetic.
Steve walks you through how to manage these shifts without losing momentum, especially the jump between sections, which trips up a lot of learners.
Rhythm & Right-Hand Technique
Even though the chords in this song are simple, the rhythm requires practice. Once the lyrics kick in, the right hand needs to move at 16th note speed (which are four evenly spaced notes for every beat) to create the desired groove. The trick here is that you don’t have to hit the strings every time—just keep your hand moving consistently to stay in time.
Mastering this technique will not only make your playing sound great but will also help build your overall strumming coordination.
Why Learn Let It Be?
- It's an easy song with simple chords, making it great for beginners.
- Helps improve chord transitions, especially switching to and from F major.
- Teaches right-hand rhythm control, a skill that translates to many other songs.
- Works as a great sing-along song, making it fun to play with others!
FAQs – Let It Be Guitar Lesson
Q1. Do I need a capo?
No, Let It Be is played in the key of C and doesn’t require a capo.
Q2. Can I use a different strumming pattern?
Absolutely! You can stick with simple downstrokes or try the DDDUDDDU pattern for more variation. Just remember to keep a steady rhythm.
Interesting Fact: This classic Beatles song has a heartfelt story behind it. Paul McCartney wrote Let It Be after dreaming of his late mother, Mary, during a stressful time for The Beatles in 1968. In the dream, she comforted him, saying, “It will be all right, just let it be.” That message stayed with him and became the heart of the song. While many assume "Mother Mary" refers to the Virgin Mary, McCartney says it's open to interpretation.


Similar Rock Songs


Introduction
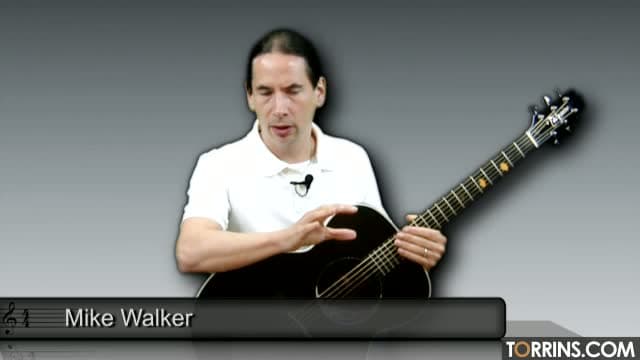
Join our expert instructor, Bobby Koeble, for an in-depth lesson on "Always With Me, Always With You" by Joe Satriani. This song is a lyrical masterpiece known for its challenging legato-style licks and smooth melodic phrasing. This intermediate to advanced-level lesson will walk you through every section of the song, helping you master both the technical and emotional elements that make it so iconic.
Interesting fact: Joe Satriani wrote "Always With Me, Always With You" as a heartfelt tribute to his wife. Unlike many of his other complex, high-energy tracks, this song stands out for its melodic simplicity and emotional depth. Satriani has said that the song represents a peaceful and constant connection with his wife, capturing the feeling of always being together no matter the distance.
Bobby has broken down the song lesson into various sections for a detailed understanding.
- Introduction
- Separate lessons for Solo section 1-6
- Conclusion and backing track
Chords Used
This song is in the key of B major and follows a 3/4 time signature. Some of the key chords used are:
- B11 – Uses the E string for added depth.
- E major – Bobby teaches a unique fingering that differs from standard chord shapes.
- G# minor and F#sus4 – Essential for the song’s harmonic feel.
Tune into the song lesson to learn the rest of the chords that make up this song.
Strumming Pattern
The rhythm of this song is signature to the tune. It follows a strict 8-note rhythm with incorporated techniques such as:
- Palm muting
- Arpeggios
- Sliding
Bobby also shares alternative ways to approach the rhythm so you can find what works best for you.
Song Structure
This song features a flowing, solo-driven structure:
Intro: It has a lyrical melody featuring legato-style licks
Solo Section 1: It is played in the key of B major and incorporates harmonics, vibrato, and sliding.
Solo Section 2: Moves higher up the neck and incorporates heavy use of vibrato and smooth phrasing.
Solo Section 3: This section has a harmony and melody change and is slightly longer and more complex. It introduces left-hand legato techniques.
Solo Section 4: Main melody moves up an octave and incorporates two-handed tapping.
Solo Section 5: It is the most rhythmically challenging part that includes double stops and varied phrasing.
Solo Section 6: Returns to the earlier melody with subtle variations in slide and inflexion. It has a fast legato-based lick to close out.
Outro: Bobby wraps up the lesson by playing along with the backing track
Why Learn This Song?
- Master left-hand legato techniques
- Develop precise control over sliding and vibrato
- Incorporate bluesy elements into your playing
- Build confidence with soloing and tapping
FAQs- Always With Me, Always With You Song Guitar Lesson
Q1. Is this song suitable for beginners?
No, this lesson is best for intermediate to advanced players due to the complex legato and tapping techniques.
Q2. How can I improve my sliding and vibrato?
Focus on timing and pressure consistency. Bobby shares detailed tips on mastering both.


Introduction
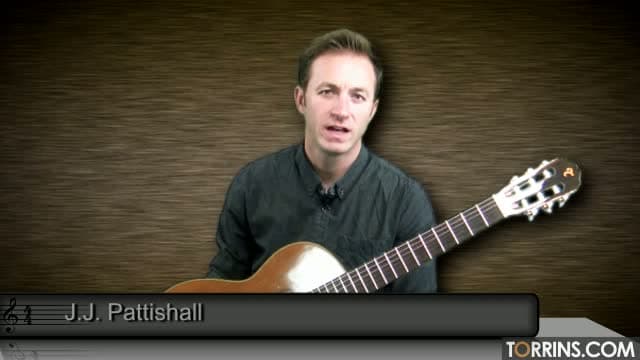
Want to learn some popular tunes from the mid-'90s? Torrins has got you covered! Tune into our guitar song lesson on James Taylor’s version of the 1959 hit Handy Man. This song tutorial is led by our expert teacher, Steve Luciano, who has decades of experience teaching and playing guitar. He breaks down the Handy Man lesson into chords, rhythm, and strumming patterns to make learning this song a smooth process for you.
Fun fact: Did you know this song has been a hit twice? Handy Man was originally recorded by Jimmy Jones in 1959 and became a huge success, reaching #2 on the Billboard Hot 100. Nearly two decades later, James Taylor recorded his own mellow, acoustic version in 1977, which also became a hit, peaking at #4 on the Billboard Hot 100 and earning Taylor a Grammy Award for Best Male Pop Vocal Performance. How cool is that?
This version of Handy Man is a great example of James Taylor’s signature acoustic fingerpicking style, incorporating unique harmonies and intricate transitions. If you’re looking for a simpler version, we’ve got that too—check it out on the Torrins website!
Chords Used in Handy Man Guitar Lesson
This song is played in the key of D and features some interesting chord transitions. Here are some of the key chords used:
- Main chords: D, A, and some others.
- When reharmonizing the second verse: Em, F#m7
- Slash chords to add depth and movement: A/C#, G/B, and a few others.
Tune into the complete Handy Man song lesson to know the rest of the chords.
Steve breaks down unique chord transitions specific to this song to help you capture its distinct, smooth sound.
Fingerpicking & Strumming Techniques
Unlike traditional fingerpicking, Handy Man features more of a plucking style—playing bass notes while plucking the strings together for a fuller sound.
- The song starts with pickup notes and incorporates hammer-ons to add subtle dynamics.
- If you’re not comfortable with fingerpicking, you can strum the entire song instead. It still sounds great!
Song Structure & Rhythm
This song follows a classic verse-chorus format.
- Keep an eye on chord transitions, especially when moving between slash chords, as they add a unique colour to the song.
- The multi-angle camera views (focused on fretting, strumming, and a complete overview) help you get a clear, close-up look at all movements –making learning much faster and more effective.
- Make use of tabs and lyrics for a smoother and more structured learning experience.
Why Learn the song Handy Man on guitar?
James Taylor’s Handy Man is a fantastic piece for learning fingerpicking while maintaining a steady rhythm. Plus, it’s an excellent exercise for improving chord transitions and adding finesse to your playing.
FAQs – Handy Man Guitar Lesson
Q1. Do I have to use fingerpicking?
You can strum the entire song if you prefer. However, fingerpicking brings out its full depth.
Q2. How can I make my transitions smoother?
Steve shares specific techniques for transitioning between chords effortlessly. Practising slowly and focusing on finger positioning will help.