Explore More in English Songs


Introduction:
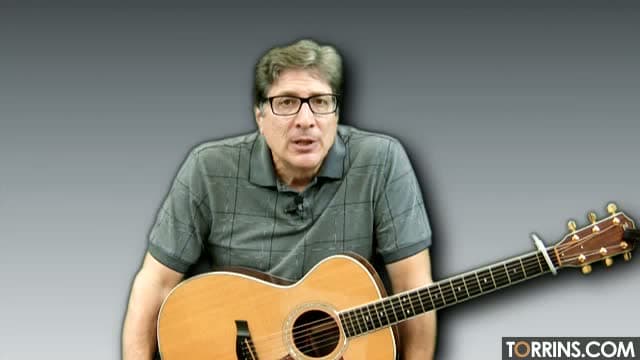
Torrins brings you an exciting guitar lesson on Sultans of Swing by Dire Straits, taught by Mike Dugan. This song blends fingerstyle finesse with classic rock grooves, and Mike breaks it all down into bite-sized lessons so you can follow along at your own pace.
Interesting Fact
Mark Knopfler originally wrote the song on a National Steel guitar in open tuning. He thought it sounded dull—until he tried it on his 1961 Fender Stratocaster. The moment he plugged it in, the song “came alive,” and the now-famous chord changes practically wrote themselves.
Chords & Progression
This song is in the key of D minor and uses both barre and open chords.
Chords include: Dm (barre), Bb, A7, F, and others.
The progression is smartly structured across the different sections, and Mike breaks down which chords go where and how they’re distributed across measures.
Song Structure
Each section is covered in detail, including how the chords and rhythms evolve throughout the song.
Intro Rhythm and Bounce Feel
One of the most iconic parts of Sultans of Swing is its bounce. Mike explains how this bounce is created by returning to the D minor chord in the intro, and how to use finger lifts and muting to shape the rhythm. He simplifies the feel for beginners while encouraging a relaxed hand to avoid letting the guitar ring too much. The subtle muting helps create those signature accents that make this riff so catchy.
Riff Rhythm
The riff acts as the instrumental bridge between verses and chorus, and it’s rhythmically complex. Mike shares a unique method to help you internalize the up and down strumming pattern and nail the timing.
Verse and Chorus – Singing & Playing Together
Mike walks you through how to match your vocals with the guitar parts, offering tips on timing and phrasing. The chorus uses a repetitive chord progression, so once you lock it in, you can focus more on dynamics and vocal delivery.
Intro Lead and Riffs
The lead parts are based around the D minor pentatonic scale, with one note borrowed from F major, and also include arpeggios. Mike breaks this down note by note, making the intro riff approachable even for those who are new to lead playing.
Solo Improvisation
The end solo of the song is a masterclass in feel and phrasing. Mike starts at the 10th fret and teaches the solo string by string. He introduces a cool technique called calming, along with triplet patterns, giving your solo a more expressive touch.
Main Riff Breakdown
To wrap up, Mike teaches the main riff of the song, played using a pick and two fingers for a hybrid picking effect. The riff includes the D minor triad and showcases how intricate fingerpicking can add character to a song.
FAQs – Sultans of Swing Guitar Lesson
Q1: Is this song beginner-friendly?
It’s more suited for intermediate players, but Mike breaks it down clearly, and beginners can still follow along section by section.
Q2: Do I need a capo?
No capo is needed for this version.
Q3: How do I get the “Knopfler feel”?
Focus on muting, dynamic accents, and hybrid picking. Let the rhythm breathe, and play with feel over flash.


Introduction:
Torrins brings you another heartfelt guitar song lesson I Will Be Here by Steven Curtis Chapman, taught by J.J. Pattishall. This lesson focuses on fingerpicking, chord transitions, and rhythm techniques, making it a great song to develop both your picking accuracy and emotional expression.
Interesting Fact: This song carries deep personal meaning. Chapman wrote it as a promise to his wife during a difficult time when his parents were going through a divorce. It became one of his most beloved songs, offering reassurance and commitment through its lyrics and melody.
Chords & Song Structure
This lesson breaks the song into easy-to-follow sections: Intro & Verse, Chorus, Bridge, Song Demo, Rhythm, and Sing & Play.
Capo is on the 1st fret
Key used is D (relative to capo), actual tuning is Eb
Chords Used:
- Intro & Verse: Dsus2, A7sus4, Bm (a barre chord), Em7, and others
- Chorus: Bm/A, A/G, D/F#, and more
- Bridge: Includes a diminished chord and a piano/instrumental section
J.J. shares some alternatives for the difficult chords such as barre chords.
The chords are arpeggiated, giving the song its signature flow. J.J. carefully explains finger placement and picking techniques to help you achieve the song’s delicate feel.
Fingerpicking & Rhythm Patterns
This song features a beautiful fingerpicking pattern. J.J. breaks it down in detail, ensuring that even beginners can grasp the technique.
For those who find fingerpicking challenging, he also introduces two basic rhythm patterns as an alternative:
- DDUDDUDDUD – A straightforward strumming pattern
- DDUUDDDUUD – Adds syncopation for a more dynamic feel
Verse, Chorus & Bridge Breakdown
- Intro & Verse: J.J. carefully walks through the arpeggiated chords and explains how to maintain a steady rhythm. He also shares a technique to create a flowing fingerpicking style.
- Chorus: The transitions between chords like Bm/A, F#, A/G, and D/F# are broken down step by step. He highlights turnarounds, ensuring smooth movement between sections.
- Bridge: Features a diminished chord, adding tension and resolution to the song. J.J. also explains the piano and instrumental section.
Sing & Play – Coordinating Vocals & Guitar
This lesson doesn’t just teach you how to play the guitar part—it also helps you combine playing with singing. J.J. explains:
- How to sync your strumming or fingerpicking with the lyrics
- Phrasing techniques to match the melody with chord changes
- How to make the song your own while staying true to its essence
Final Song Demo & Play-Along
To bring everything together, J.J. performs the song with a backing track, reinforcing all the techniques covered in the lesson. This play-along section lets you practice along and refine your timing and transitions.
Why Learn I Will Be Here?
- Develops fingerpicking skills – great for improving coordination and technique
- Enhances chord transitions – teaches smooth movement between complex shapes
FAQs – I Will Be Here Guitar Lesson
Q1: Is this lesson beginner-friendly?
Yes! While the fingerpicking and chord shapes may seem tricky at first, J.J. provides simplified alternatives and a step-by-step breakdown.
Q2: Can I strum instead of fingerpick?
Absolutely. J.J. introduces two strumming patterns for those who prefer a rhythmic approach.
Q3: Do I need a capo?
Yes, place the capo on the 1st fret to match the song’s key.


Similar Rock Songs


Introduction:
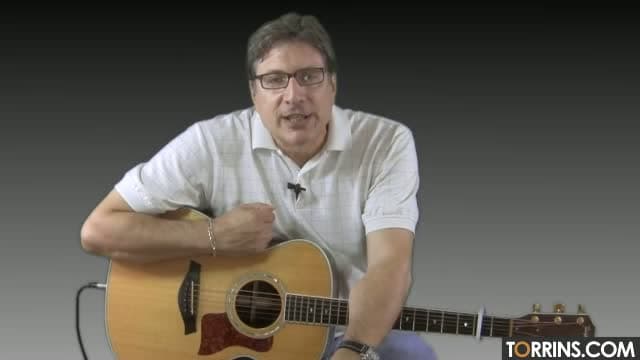
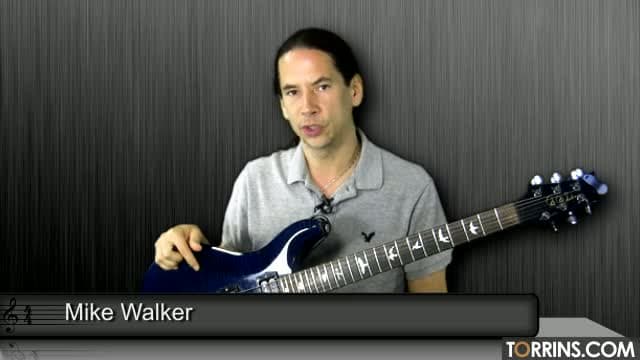
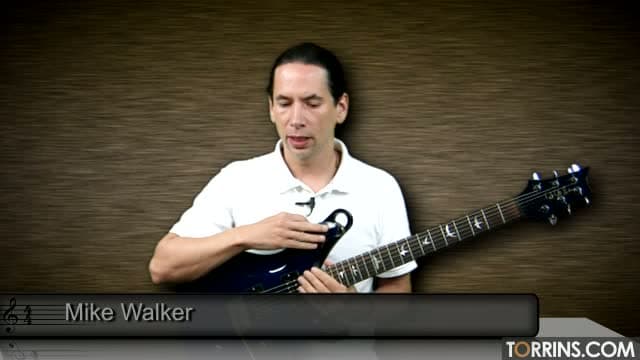
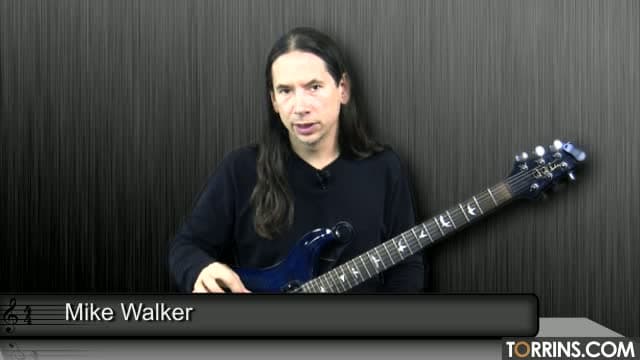
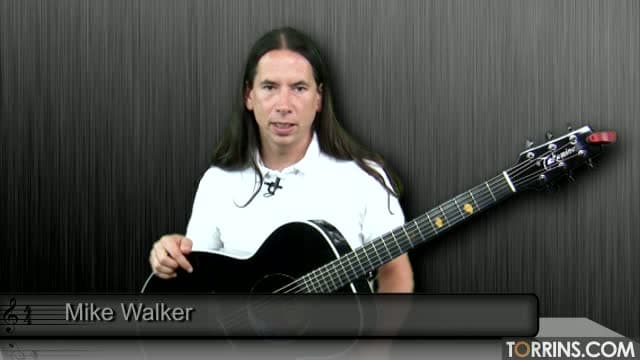
Torrins brings you one of the most legendary rock riffs ever recorded-Smoke on the Water by Deep Purple, taught by Mike Walker. This guitar lesson is designed to break down the song step by step, covering everything from the iconic riff to solo improvisation. Whether you’re picking up the electric guitar for the first time or looking to level up your playing, this one’s a must-learn.
Fun Fact: Although the song appeared on Machine Head in 1972, it wasn’t released as a single until 1973. Surprisingly, the band didn’t expect it to be a hit. But it climbed to number 4 on the Billboard pop charts and became one of the most recognizable riffs in rock history.
Chords and Song Key
This lesson is taught in the key of B♭, but the song carries a G minor feel throughout. You’ll be using a few essential power chords like G5, A♭5, and others as you move through the sections.
The song’s time signature is 4/4, with a tempo of 112 BPM. Two main scales are used across the lesson: the G minor scale and the G blues pentatonic, both of which are central to the solo and improvisation parts.
Iconic Intro Riff
It’s the riff that every guitarist wants to play and for good reason. Mike breaks it down clearly, explaining which strings to let ring and how to get that gritty rock tone. He demonstrates both fingerpicking and pick-style playing, so you can choose the approach that suits you best.
Verse and Chorus Sections
In the verse, you’ll be working with a group of three chords, using arpeggios and palm muting to add texture. The phrasing follows a clean 4-bar structure, making it easy to follow.
The chorus section also relies on arpeggios. Mike walks through each measure in detail, grouping chords and explaining the rhythm so you can play with ease and confidence.
Rhythm Underneath the Solo
For the rhythm guitar players, Mike breaks down the part that supports the solo section. This part mostly uses just two chords, but involves some precise fingerpicking techniques to maintain the groove and drive.
Solo Lesson
Mike takes you through the solo lick by lick, staying in the G minor scale. He explores techniques like vibrato to add feel and energy. It’s a great way to learn how to play expressively.
Solo Demo and Improvisation
Once the solo is broken down, Mike ties everything together with a full solo demo played along with a backing track. Then comes the fun part, improvisation. He shares how to use:
- G minor and G pentatonic scales
- G pentatonic with a flat 5
- Phrasing on the 15th fret
You’ll also pick up a few stylistic ideas inspired by Jon Lord’s playing style, which adds a cool, classic-rock flavor to your soloing.
Why Learn - Smoke on the Water?
- One of the most famous riffs in rock history
- Teaches you both rhythm and lead techniques
- A solid introduction to rock improvisation
- Perfect for building confidence on the electric guitar
FAQs – Smoke on the Water Guitar Lesson
Q1. Is this song beginner-friendly?
Yes, and Mike simplifies each section so it’s approachable even if you’re just getting started.
Q2. Do I need an electric guitar?
It’s recommended, as this song is designed with electric tone and expression in mind.
Q3. Can I play the riff with a pick?
Absolutely. Mike shows both finger and pick methods—you can choose what feels right.
Introduction
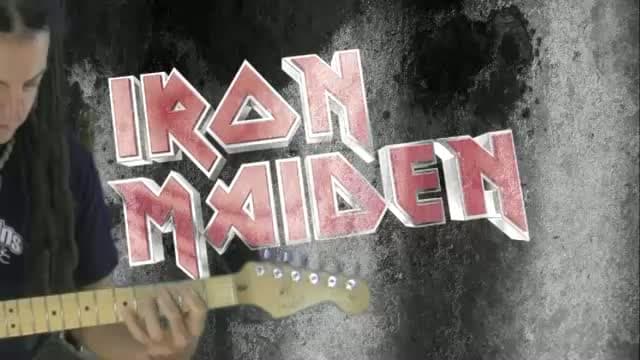
Tune into a guitar lesson on the classic heavy metal song "The Trooper" brought to you by Torrins, led by our expert instructor, Bobby Koeble. This song by the English heavy metal band Iron Maiden was released in 1983, and a live version of the song was issued in 2005.
Fun Fact: "The Trooper" by Iron Maiden was inspired by the famous Charge of the Light Brigade during the Crimean War in 1854. The song’s lyrics are based on Alfred, Lord Tennyson’s poem of the same name, which describes the bravery and tragic loss of British cavalry who were misled into a deadly Russian artillery ambush. The intense galloping rhythm of the song reflects the chaos and urgency of the battlefield charge.
Bobby breaks down this classic song lesson into the following parts to ensure a smooth learning experience for learners:
Introduction
Intro Riff
Main Riff & Verse
Chorus & Song Arrangement
Solo 1- Part 1 & 2
Rhythm for Solos
Solo 2
Solo 2 using Whammy Bars
Discussion & Conclusion
Trooper with Backing Track
Chords Used in The Trooper Guitar Lesson
- Most of the song is in the key of E or E minor with a 4/4 time signature. Bobby plays the song in standard tuning.
- The chorus uses a D chord followed by a low E power chord.
- The solos are in the key of A minor and use chords like G, and F, along with others.
- There are harmony parts in the intro and main riffs, with techniques like pull-offs and whammy bar used in the solos.
Strumming Pattern
- The song follows a fast-paced, galloping rhythm—a signature Iron Maiden style.
- Bobby breaks down the strumming pattern and offers options for handling the harmony in the intro.
- Beginners can start with a simple downstroke rhythm, while more advanced players can work on refining the galloping feel.
Song Structure
The song unfolds with a clear and consistent progression that keeps listeners engaged from start to finish. It kicks off with a high-energy intro riff, a fast-paced harmony section that repeats four times to set the tone. This leads into the main riff and verse, where the finger placements and note sequences are broken down for easy understanding.
From there, the momentum builds into the chorus, which delivers a bold shift in rhythm and mood. After returning briefly to the main harmony riff, the song moves into the second verse, introducing a slight rhythmic variation with a galloping feel that adds fresh texture.
The next pass through the chorus sets the stage for not just one, but two solo sections, each packed with expressive phrasing and technique. After the solos, the main harmony riff reappears, anchoring the listener before launching into the third and final verse. Finally, the track winds down with an outro that circles back to the familiar intensity of the intro, bringing the piece full circle with a satisfying sense of closure.
Improvisation Techniques
- The solos are played in A minor.
- Solo 2 includes whammy bar technique for added depth and expression.
Bobby ends the lesson by playing along with a backing track—a great way to practice and refine your playing.
FAQs – The Trooper Guitar Lesson
Q1. Is this song suitable for beginners?
It’s more suited for intermediate players due to the fast-paced rhythm and advanced solo work.
Q2. What’s the key challenge in this song?
The galloping rhythm and smooth chord transitions require precision and practice.
Q3. Do I need a special tuning?
No, the song is played in standard tuning.


If You Like James Taylor, You'll Love These
Introduction
Want to learn some popular tunes from the mid-'90s? Torrins has got you covered! Tune into our guitar song lesson on James Taylor’s version of the 1959 hit Handy Man. This song tutorial is led by our expert teacher, Steve Luciano, who has decades of experience teaching and playing guitar. He breaks down the Handy Man lesson into chords, rhythm, and strumming patterns to make learning this song a smooth process for you.
Fun fact: Did you know this song has been a hit twice? Handy Man was originally recorded by Jimmy Jones in 1959 and became a huge success, reaching #2 on the Billboard Hot 100. Nearly two decades later, James Taylor recorded his own mellow, acoustic version in 1977, which also became a hit, peaking at #4 on the Billboard Hot 100 and earning Taylor a Grammy Award for Best Male Pop Vocal Performance. How cool is that?
This version of Handy Man is a great example of James Taylor’s signature acoustic fingerpicking style, incorporating unique harmonies and intricate transitions. If you’re looking for a simpler version, we’ve got that too—check it out on the Torrins website!
Chords Used in Handy Man Guitar Lesson
This song is played in the key of D and features some interesting chord transitions. Here are some of the key chords used:
- Main chords: D, A, and some others.
- When reharmonizing the second verse: Em, F#m7
- Slash chords to add depth and movement: A/C#, G/B, and a few others.
Tune into the complete Handy Man song lesson to know the rest of the chords.
Steve breaks down unique chord transitions specific to this song to help you capture its distinct, smooth sound.
Fingerpicking & Strumming Techniques
Unlike traditional fingerpicking, Handy Man features more of a plucking style—playing bass notes while plucking the strings together for a fuller sound.
- The song starts with pickup notes and incorporates hammer-ons to add subtle dynamics.
- If you’re not comfortable with fingerpicking, you can strum the entire song instead. It still sounds great!
Song Structure & Rhythm
This song follows a classic verse-chorus format.
- Keep an eye on chord transitions, especially when moving between slash chords, as they add a unique colour to the song.
- The multi-angle camera views (focused on fretting, strumming, and a complete overview) help you get a clear, close-up look at all movements –making learning much faster and more effective.
- Make use of tabs and lyrics for a smoother and more structured learning experience.
Why Learn the song Handy Man on guitar?
James Taylor’s Handy Man is a fantastic piece for learning fingerpicking while maintaining a steady rhythm. Plus, it’s an excellent exercise for improving chord transitions and adding finesse to your playing.
FAQs – Handy Man Guitar Lesson
Q1. Do I have to use fingerpicking?
You can strum the entire song if you prefer. However, fingerpicking brings out its full depth.
Q2. How can I make my transitions smoother?
Steve shares specific techniques for transitioning between chords effortlessly. Practising slowly and focusing on finger positioning will help.